The recommended weekly amount of water is 1 inch a week. Vegetable gardening tips for beginners:

99 Unusual Vegetable Garden Ideas For Home Backyard Backyard
Rooftops, decks and balconies are great places for a vegetable garden, too.

Home vegetable garden tips. Plant the right amount 9. Once they've gotten in, it's nearly impossible to extricate them. When the soil temperature reaches 65 to 70 degrees farenheit, set out plants and cover the.
Cabbage radishes winter squash carrots lettuce beans summer squash cucumbers peppers tomatoes these are just a few you can try but there are many, many more. Decide on the method of irrigation 10. Pick fruit when ripe to ensure continuous production.
Choose your favorite vegetables 8. Preparing your garden bed start by loosening the soil and adding compost for a good source of nutrients. The key to growing a successful vegetable garden is keeping an eye on it.
Gardens need 6 hours of direct sunlight a day. Keep a gardening journal 4. To germinate (°f) cold hardiness.
Watering soaker hoses and drip irrigation are great ways to make sure your vegetable garden gets adequate water. Kathy jentz of washington gardener magazine suggests wrapping foil around squash stems to. It really depends on your personal tastes.
Choose the ideal location 2. 20 gardening tips for beginners 1. Most summer veggies love the sun, so choose a location that gets at least 6 hours of sunlight during the day.
Pick vegetables suitable for your area 5. The top 3 easiest vegetables to start 3. Consider the light and space in your backyard to decided if a pot or garden bed will work best, refer to the seed package.
If your home has limited access to the outdoors, your best bet may be to find a community garden or share the yard of a neighbour, or these five inspired indoor gardening ideas. Also be on the lookout for insects, as they can damage young plants. Placing them near a fence adds protection from severe weather.
If you are looking for some guidance and ideas though, the ten most popular vegetables in vegetable gardening are: Enhance the weed control measures 6. Start seeds indoors (weeks before last spring frost) start seeds outdoors (weeks before or after last spring frost) minimum soil temp.
This makes the top of the list because if you choose the wrong location for your garden, then you’re sure to have disappointing results. Then, cover the bed with a slitted, clear plastic tunnel. Stake large plants as needed and keep air flowing around lower leaves.
Here’s what our facebook friends say not to do when it comes to vegetable gardening: Place tall and trellised crops like corn or pole beans on the north or west side of your garden so they do not shade smaller plants. Each of the vegetables listed below links to an individual vegetable plant guide that covers sowing to growing to harvest!
Use walls, fences and hanging gardens to optimize finite space. Watch for signs of disease like discolouring or wilting. Boost your soil health 7.
Problem is, they are very broad approximations and simply aren’t going to work in all cases. As a general guideline, bury the seed at a depth which equals twice the thickness of the seed.

Starting seeds is easy and can save you lots of money. Here's how to do
You can then gently tap the sides or bottom of the seed cell for the seedling mix to level out and sit evenly across the top.
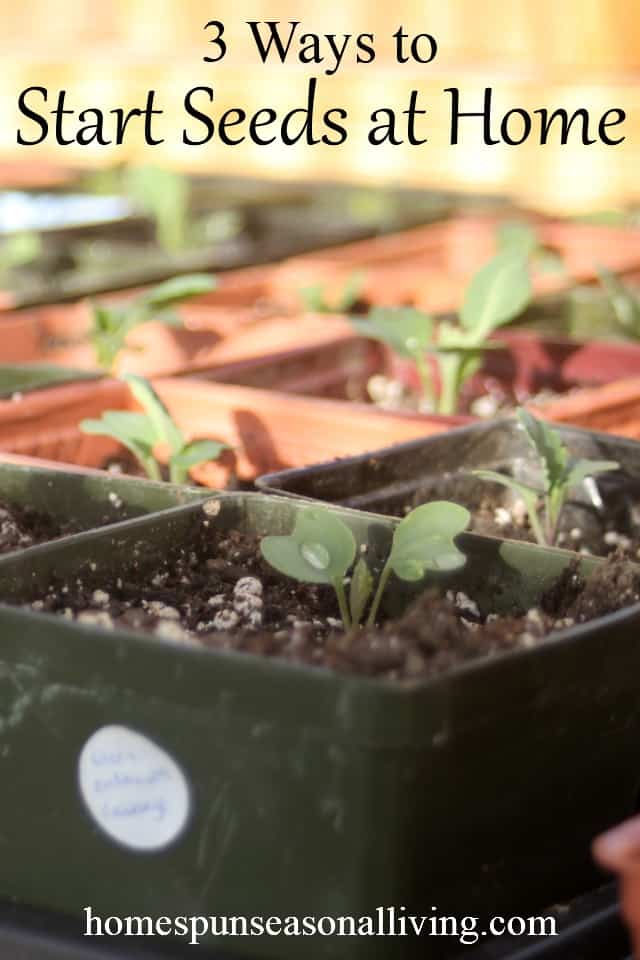
Best way to start seeds at home. The first step in starting your tomatoes from seed is pathogen prevention. During this process, the germ in the seed breaks through the outer shell forming a root, also known as a taproot. They make seed starting seem so exact and tidy.
Starting seeds this way requires a hardening off period, which is just moving them outside slowly to get them used to outside temperatures and direct sunlight. Ad wetbags, bibs, mats, wipes, & much more. Our favorite way to water newly planted seeds is with a spray bottle.
Provide adequate drainage excess water in your potting containers can cause tender young roots to rot, so be sure to add drainage holes to your containers before planting, if necessary. Sowing seeds indoors protects young plants from most pests and extends the growing season, providing an earlier harvest. Keep them warm and give them water and they should sprout for you.
When planting herb seeds outdoors, use a hand seeder to evenly distribute seeds along a row or in a defined garden plot. Start seeds in a sunny window plant those seeds in some good soil, in a pot and let them sit a sunny window. I use simple heat mats for my initial sprouting, and once the plants are up about an inch, i remove them from the heat.
Our products provide the best functionality, quality, & selection available. If you’re reusing pots from previous years, a soak in a 10% solution of household bleach for 30 minutes will be enough. Plant seeds based on daylight and soil temperatures.
Germinated seeds can be placed in the growing medium. Grab about 1 handful of worm casting seedling mix, and gently sprinkle this over top of the seedling mix until it is covered by about 1cm. Sow seeds on a paper towel, napkins or coffee filters.
Starting seeds in canning jars Retail or dollar store items cake pans and muffin tins are perfect for seeds. The simplest way to achieve this is through the paper towel method.
Do not worry, most of your common garden transplants do not need that amount of control. This means using sterilized pots or trays, as well as a sterile growing medium. It doesn’t really matter because beans are possibly the easiest seeds to start in your garden.
Germination can take a day or up to a week. Water gently to prevent seeds. When you see seedlings sprout, move to a small pot with loose soil.
A nutritious leafy green that every first. Store in a dark and cool place. Location and light cannabis can be grown indoors or out.
Put into a plastic bag. Small yogurt cups can be quite useful to start the seeds of your favorite herbs and grow them on a kitchen windowsill. Temperature is very important when it comes to germination and getting seeds to sprout.
To get seeds to germinate, gently water the soil so that it is slightly damp. Place two to five seeds per seed cell or pod. I love those lists that tell you start this on x date, and that on y date.
To germinate seeds, place seeds on a damp towel, napkins or filter. Get everything you need to care for your child. A soilless medium works well for germination.
Some seeds need a higher temp to germinate, then a little cooler temp to help them come up out of the soil. If using food grade, dilute it down to 3% first (roughly 1 part hydrogen peroxide to 11 parts water), then combine with water as noted above.
It’s a thick and glossy liquid with a yellowish tint, and it’s touted as one of nature’s best for healthier and longer lashes. We review the top 10 eyelash growth serums so you choose the right one, read more

DIY Lash Lift at Home Lash lift, Lashes, Natural makeup for brown eyes
Watch how view details black white amplify (most natural) bold (thicker fiber) curl (curly, lift) 12mm / 14mm 10mm / 12mm $145.00 usd add to bag as featured in best sellers
Lash lift at home natural. To extend the life of your lash lift, follow these important aftercare tips. This really depends on how quickly your natural lashes grow, but according to patel, a good lash lift can last up to six weeks. Cleanse lashes and eye area thoroughly with an oil free cleanser.
Cleanse with saline solution, or else the glue won’t stick and the treatment might not be absorbed. Brush a thin amount of glue onto the shield that is now sitting on the eyelid. Keratin eyelash lift is a natural treatment that helps in darkening and lifting of the existing lashes without the addition of any synthetic and fake lashes to them.
Use a gentle side to side motion while you work from the roots to the tips of your lashes. This video is a full tutorial and review, i. Finally, the lift lasts for 8 weeks and you can even apply mascara to your eyelashes.
Ensure to use only a thin layer of mascara on your wand. Water can weaken the lift and return your natural lashes to their original state. We've reviewed the best serums on the market.
To remove the lift pad safely, i dipped a cotton bud into the 'cleanser' solution and used it to gently ease the lashes away from the pad. The same chemical is used for hair straightening, perming, and removal for the simple reason that it can alter the disulfide bond found in the hair cortex. Is it safe to do a lash lift at home?
Ad looking for the 2022's top eyelash serums? If you're reluctant about using a permanent solution on the eyes, prefer a more natural approach, or its not offered in your area i would like to share one of my favorite at home tricks for lifting your own lashes. A lash lift is a procedure where the shape and color of your natural lashes are altered using a chemical solution, usually keratin.
Ammonium thioglycolate is the main lash lift ingredient. There is a good reason most lash lift kits you find online are indicated for professional use. In this specific process, the licensed practioner used keratin mixed with tinted pigment to.
If you are doing the lash lift by yourself, do one eye at a time! Micellar water is better than a. Getting a lash lift | easy step by step guidei tried lash lifting last week and i'm sharing to you all my experience.
Eyelash lifting can be done at home and on your own. Wiggle a waterproof mascara into your lashes. Brush a thin amount of glue on the inside of the shield and place on eye.
Using a mascara brush, apply lift solution for around 2 minutes. It enhances the natural look of the lashes and gives them a gorgeous curl. Check out our lash lift at home selection for the very best in unique or custom, handmade pieces from our shops.
A silicone shield is firmly glued onto your eyelid. Since the procedure usually costs around $100, (more or. It’s free from chemicals, but make sure to look for the ingredients.
Conclusion a lash lift that is overly curly can be fixed by using cocoon oil and vaseline to maintain them hydrogenated once or three times per week. Lash lifting is a 2 step process that tints and lifts the lashes using a tiny rod to curl the lash and lasts for about 6 months or more. Showing you how i permed my lashes (known as a lash lift) at home and what i regret about doing it 1 week later.
It comes in handy to change the hair structure as it causes the hair cuticle to swell. Look for a formula that contains an herbal root, such as chamomile. This includes avoiding steam, saunas, and pools.
Reversing a lash lift is possible. The base of the shield should sit aligned next to the lash line. No, it's not safe to do diy lash lifts at home.
Heat your eyelash curler with a blow dryer and curl your lashes. 1) harmful chemicals in diy kits. Step by step guide to do a lash lift at home.
Here's the step by step guide. To begin, use protein remover pads to remove any buildup on the lashes.